STEP 1.
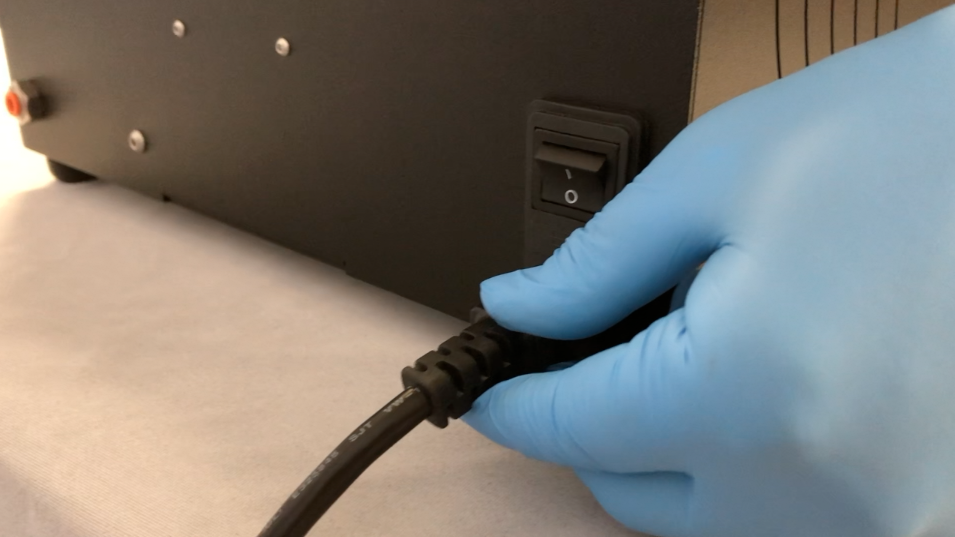
Connect the supplied power cord to the device, then to an 88-264 VAC single phase outlet.
STEP 2.
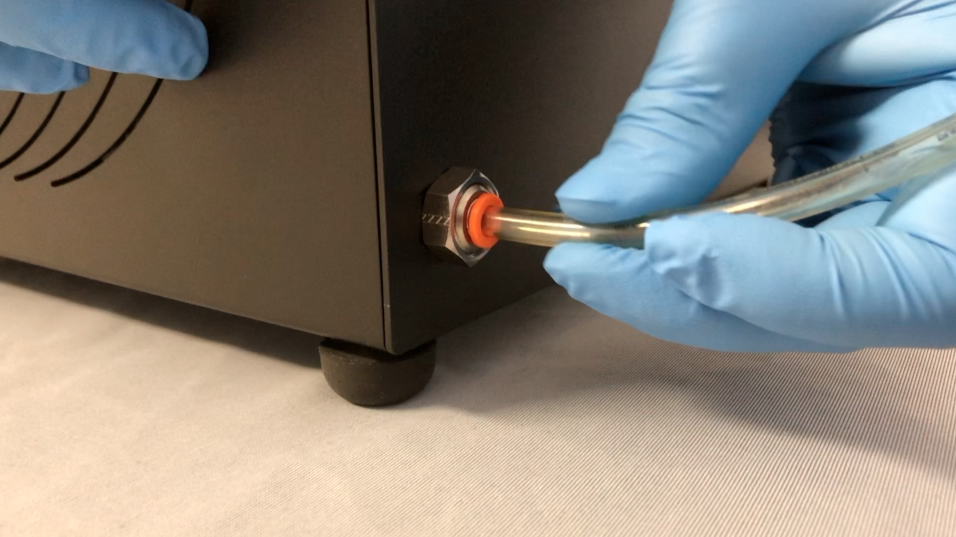
Connect 1/4” OD tubing between the argon regulator and the Padlock device quick-disconnect port on the backside.
STEP 3.
Set gas to 5 PSI

STEP 4.
Turn the switch on the back of the device to ON. If red gas light is on, check the argon gas line connection and gas bottle regulator for proper pressure (5 PSI).
STEP 5.
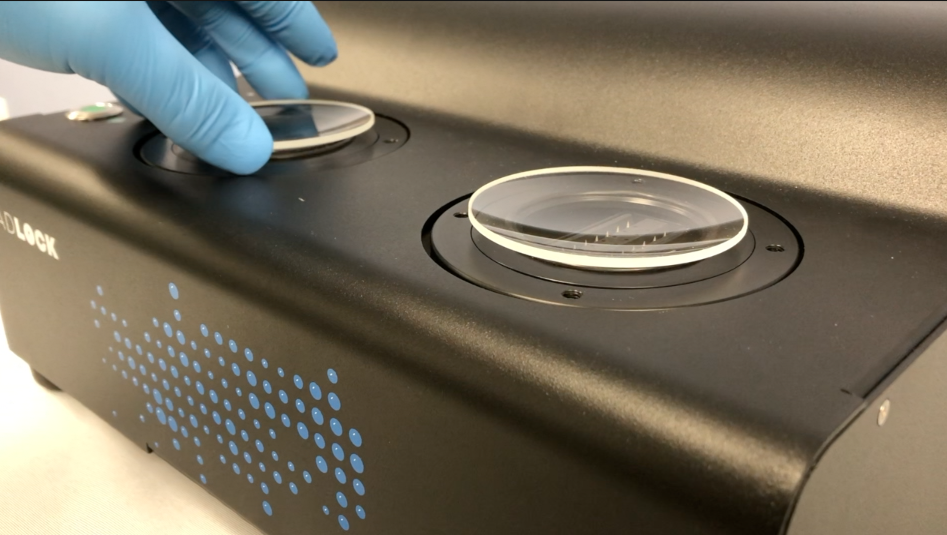
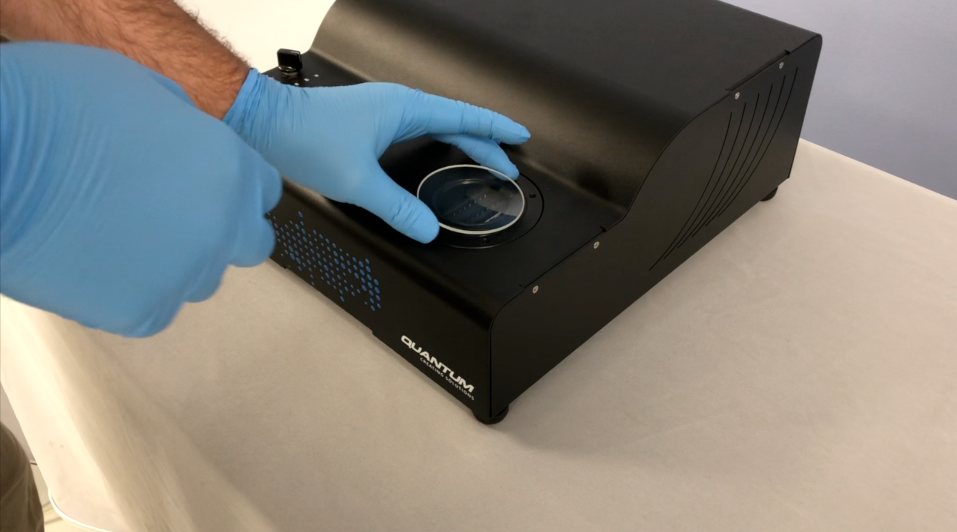
Choose the ring size based on the lens profile and place the lens on the turntable so that the convex SHP-coated surface is pointed down, toward the inside of the device.
STEP 6.
Close the lid, for dual units, and set timer for the desired operation duration: 30, 60, or 90 sec.
STEP 7.
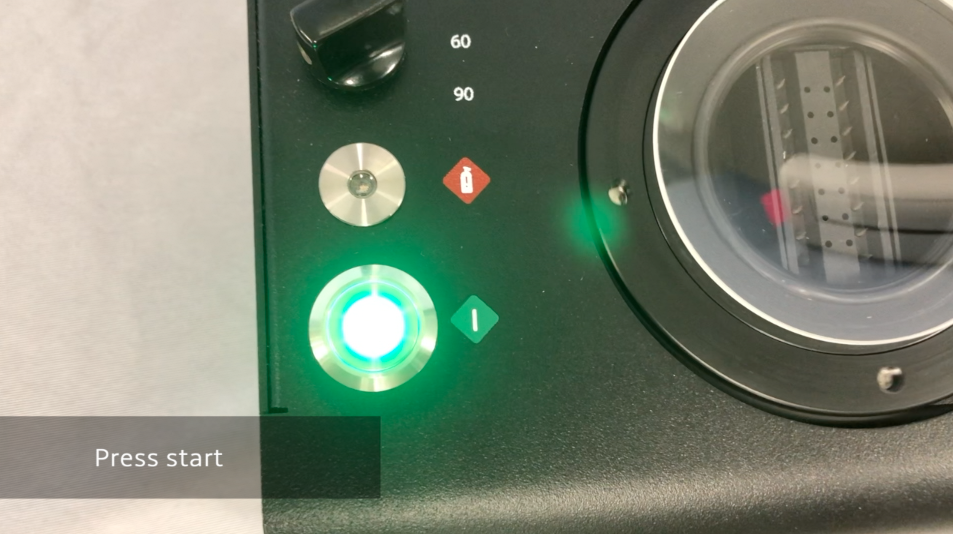
Push the start button. The LED on the button will turn green and the lens will start rotating on the ring. The device will shut off automatically after the expired time.

STEP 8.
Lift the lid and remove the lens wearing gloves.

STEP 9.
Prepare the lens, as normal, for the edger operation.

