Quickstart for FusionUV
STEP 1:
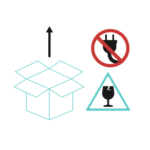
Unbox your new FusionUV unit, rods, and bulbs from their packaging. UV bulbs and rods are fragile, wear gloves while installing. Do not plug in device.
STEP 2:
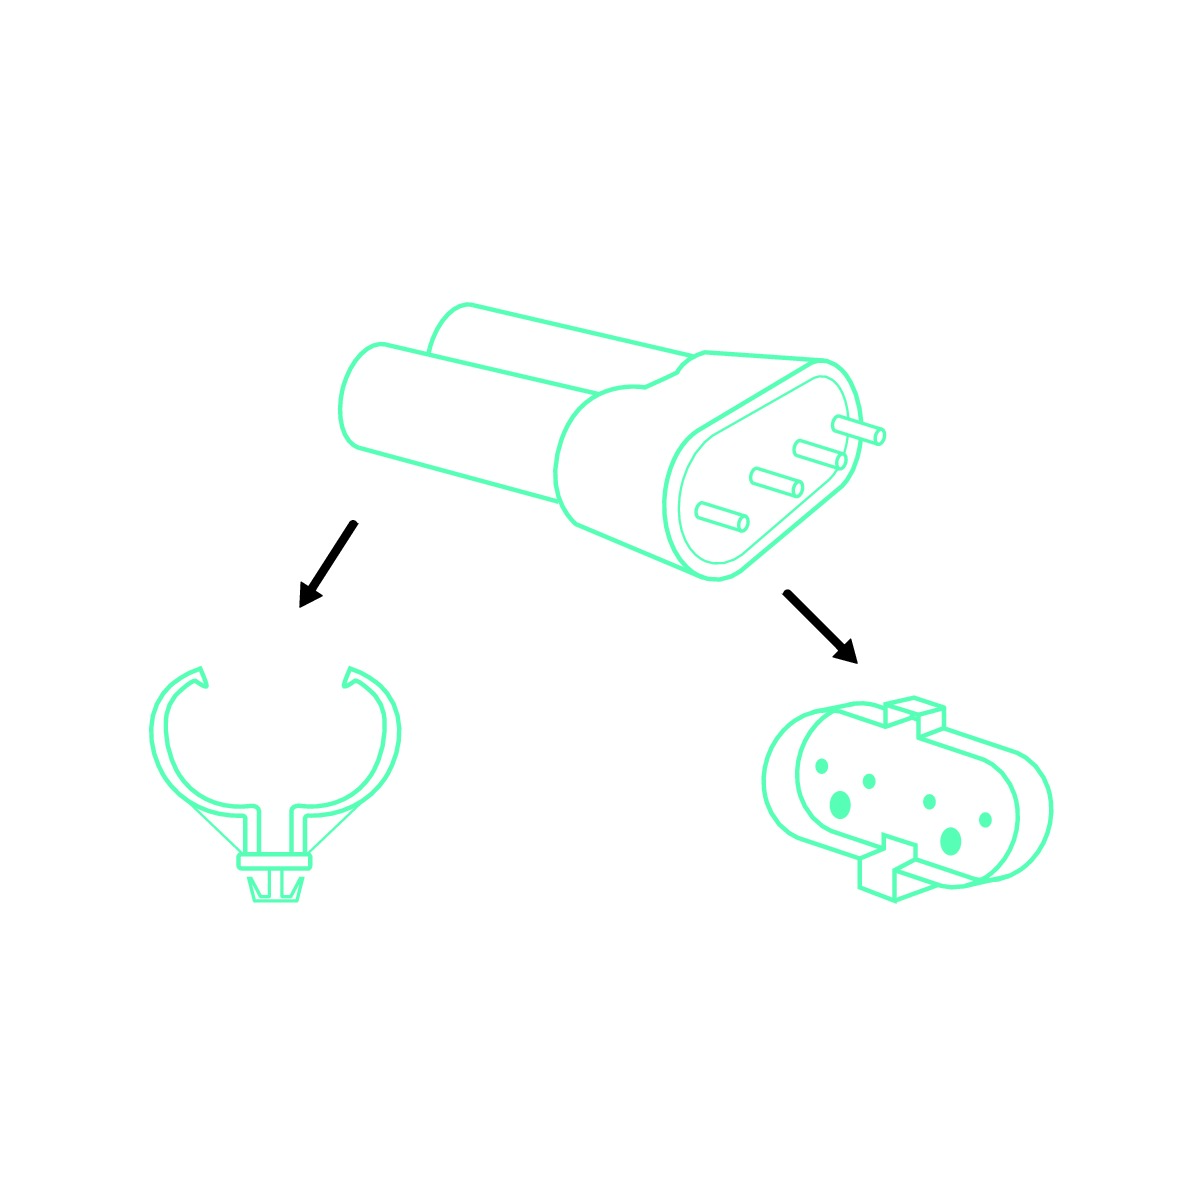
Wearing gloves, install the lower bulb. Holding bulb near pin base, firmly press into the socket until seated, then clip in the opposite end of the bulb into clip. Install top bulb in same way as bottom.
STEP 3:
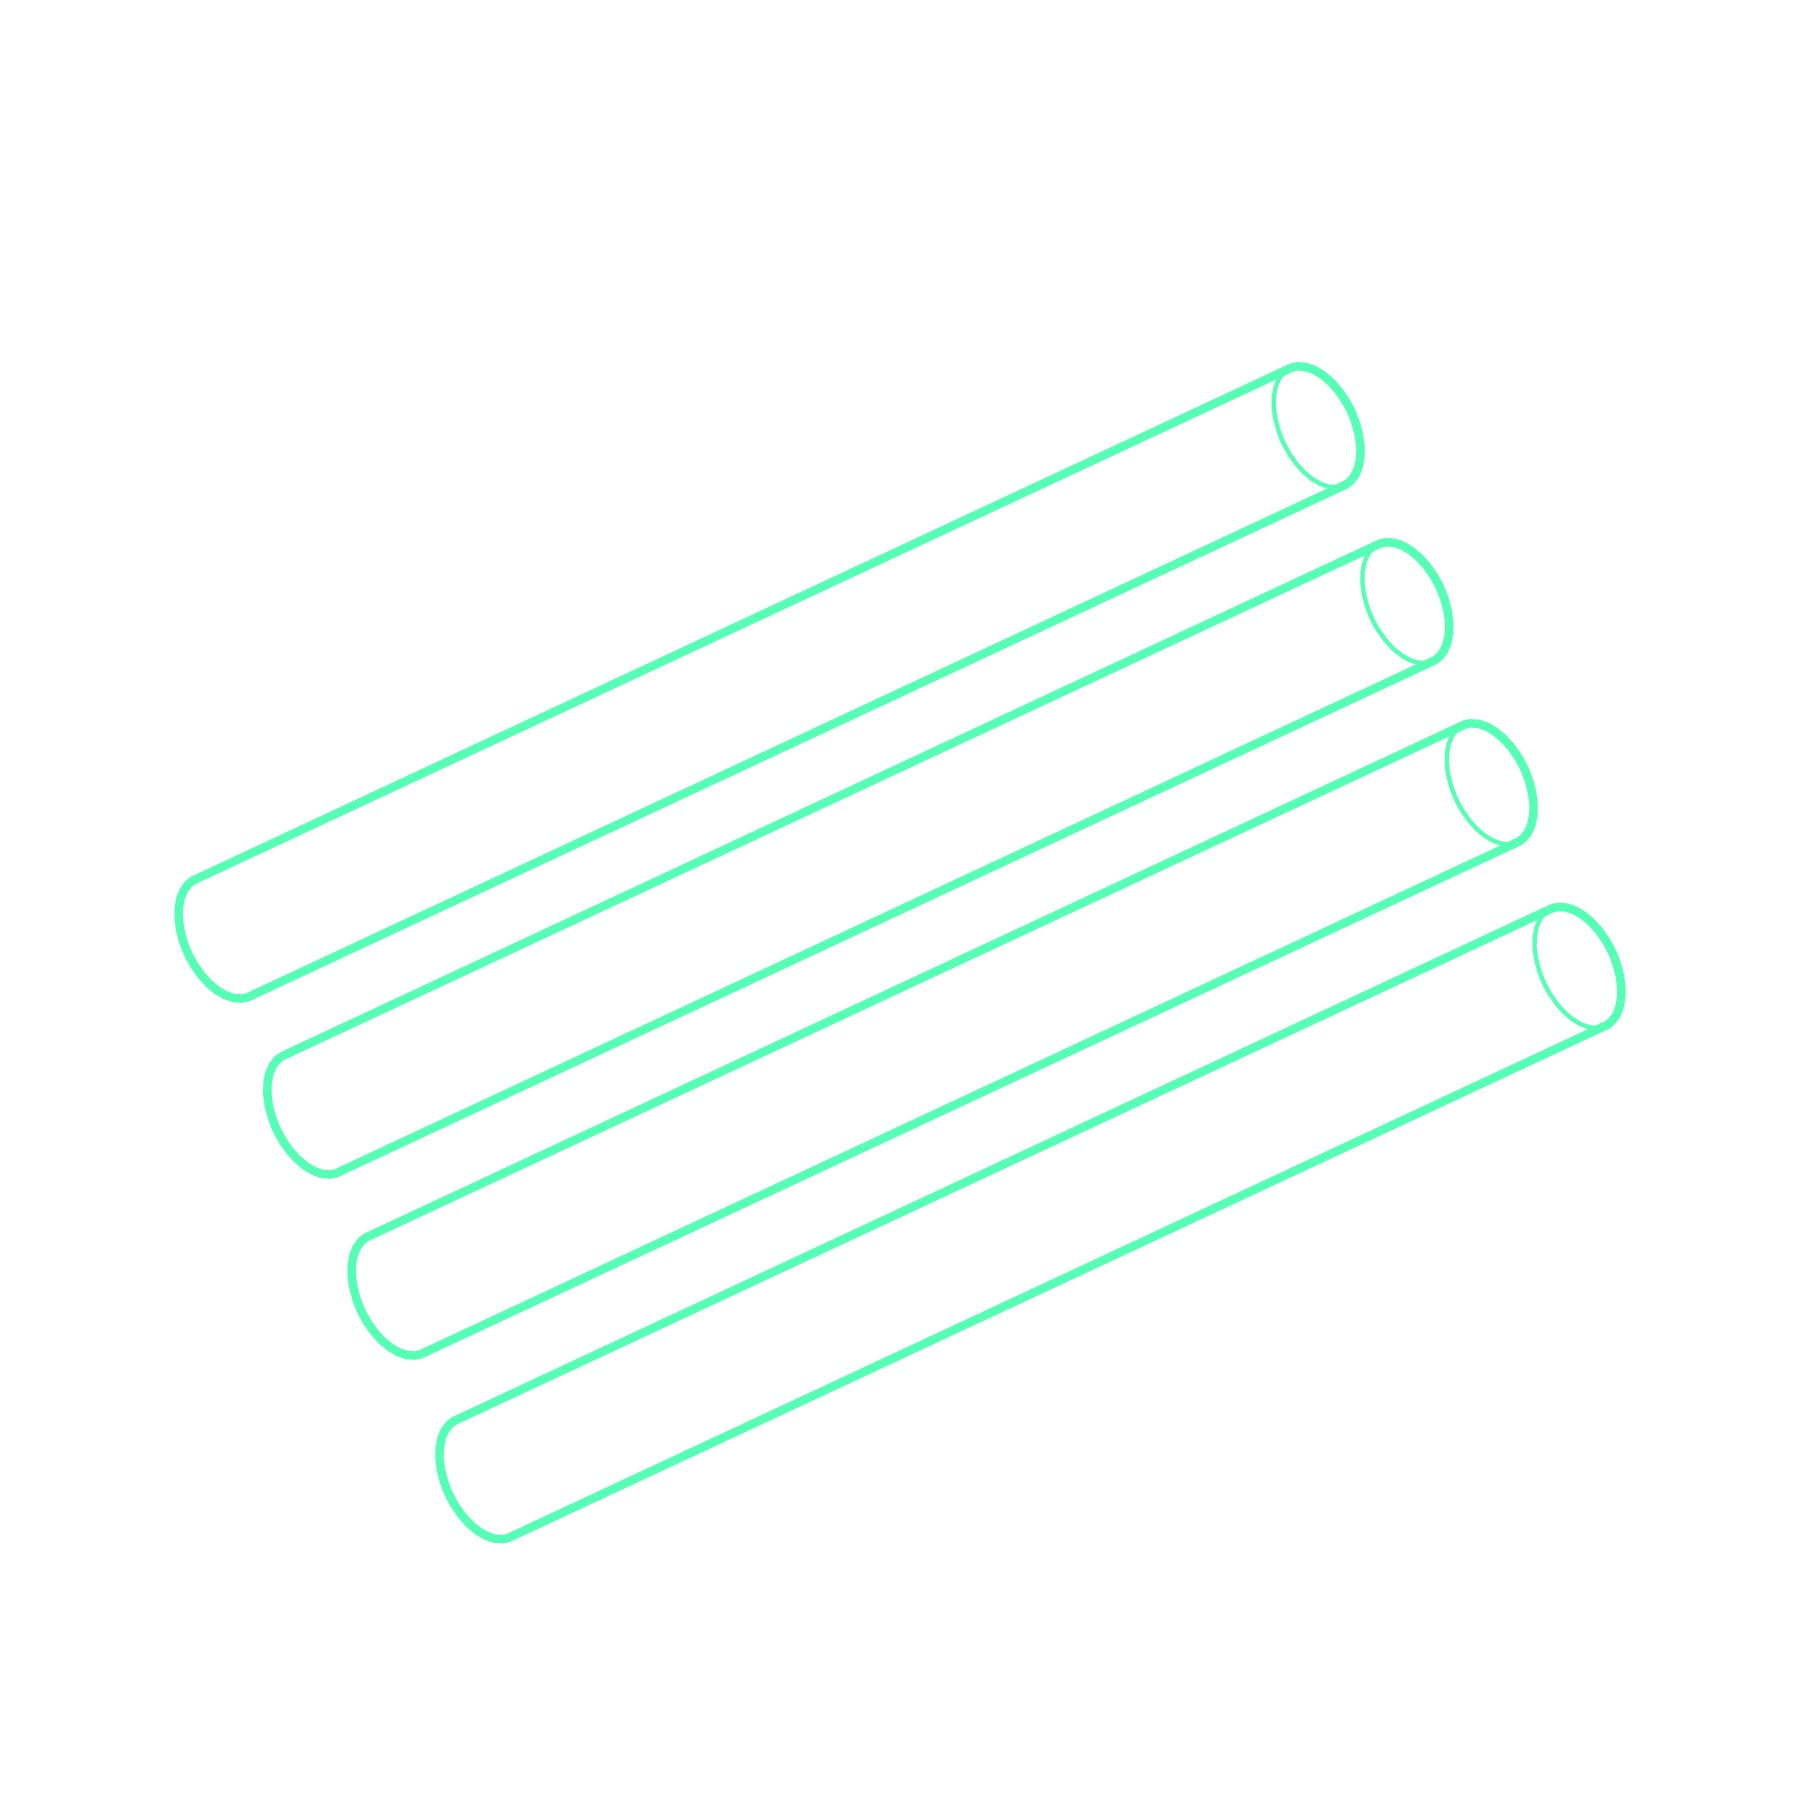
Wearing gloves, install rods by removing rubber grommets from rod holders and gently press onto each end of the rod. Gently place into the holder slots. Always hold rods at ends.
STEP 4:
You may now plug in your new FusionUV and turn the switch on at the back of FusionUV.
Daily Bulb Test

STEP 1:
Adhere one sticker to each side of the Bulb Test Card. Place the card on top of the rods, with one sticker facing upward and one sticker facing downward. Arrange the rods, if needed, to lay the card flat inside the unit.
STEP 2:
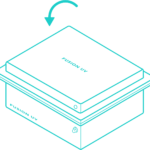
Close the lid of the FusionUV.
STEP 3:
Turn the dial to 4 minutes to begin the test if you are using the large (Max) FusionUV.
Turn the dial to 5 minutes to begin the test if you are using the medium (Midtown) FusionUV.
Turn the dial to 6 minutes to begin the test if you are using the small (Metro) FusionUV.

STEP 4:
Watch for the light to illuminate indicating that it is on and working properly.
STEP 5:
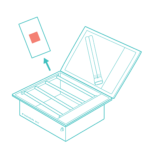
Once the timer is done, open the lid to reveal the Bulb Test Card.

STEP 6:
Examine the stickers on both sides of the Bulb Test Card. Stickers will change to a salmon color when exposed to adequate UVC light. An unexposed or underexposed card will have a sticker ranging from white to dark purple.
Ensure that the stickers change to the adequately exposed passing shade as indicated on the enclosed color chart. Consult instructions on Bulb Test Log if test does not pass.

STEP 7:
Remove used stickers and adhere to your Bulb Test Log for future reference.

STEP 8:
Do not dispose of the Bulb Test Card. Save and reuse for future tests.

